
 So I decided to make a jewelry organizer! It was very simple and it took me less than an hour to construct it. I had all the materials around the house I just used a little innovation and creativity and I got this beautiful display!
Materials used:
A Picture frame
Fabric
Staples/Glue
Tacks/Hooks
Embellishments & Paint (optional)
 |
| Before |
I used an old photo frame hanging in my room. You can use one laying around the house like I did, or buy a fairly cheap, or expensive, one from anywhere like a craft store, appliance store, you name it.
 After you have your frame you should wipe it down. Especially if you want to paint over it. I left my frame the way it was and proceeded to adding the fabric. I used lace that I salvaged from a swimsuit cover up from last summer. I just used whatever I had in my closet but if you don't want to butcher your clothes feel free to buy some from a fabric store, craft store, etc.
 Anyways you want to adhere the lace to the frame. First I cut out roughly as much as I needed. I opted for staples because you need the fabric to be taut but not too tight that it stretches and rips or too loose that any accessories you add later on cause the material to sag. Trim any cloth as needed but don't worry if it's too neat, no one is going to look at the back of it!
 Next I just took some simple office tacks I stumbled upon (not literally!). If you're not as lazy as me you can go out and buy some real hooks but I personally think tacks look just as good. I added 14 tacks in all for necklace racks. You can use a hammer but I just did an open palmed strike like a kung fu master to push the tack into the frame. My hand was red and covered in circle indentations but it was so worth it. If your frame's wood is super sturdy please don't even try that.

I also added two behind the frame. If you're not going to add studs to the jewelry rack, then you can skip that step. I did that so the frame lays evenly against the wall with a convenient space to slide your hand to reach the backing of the studs.

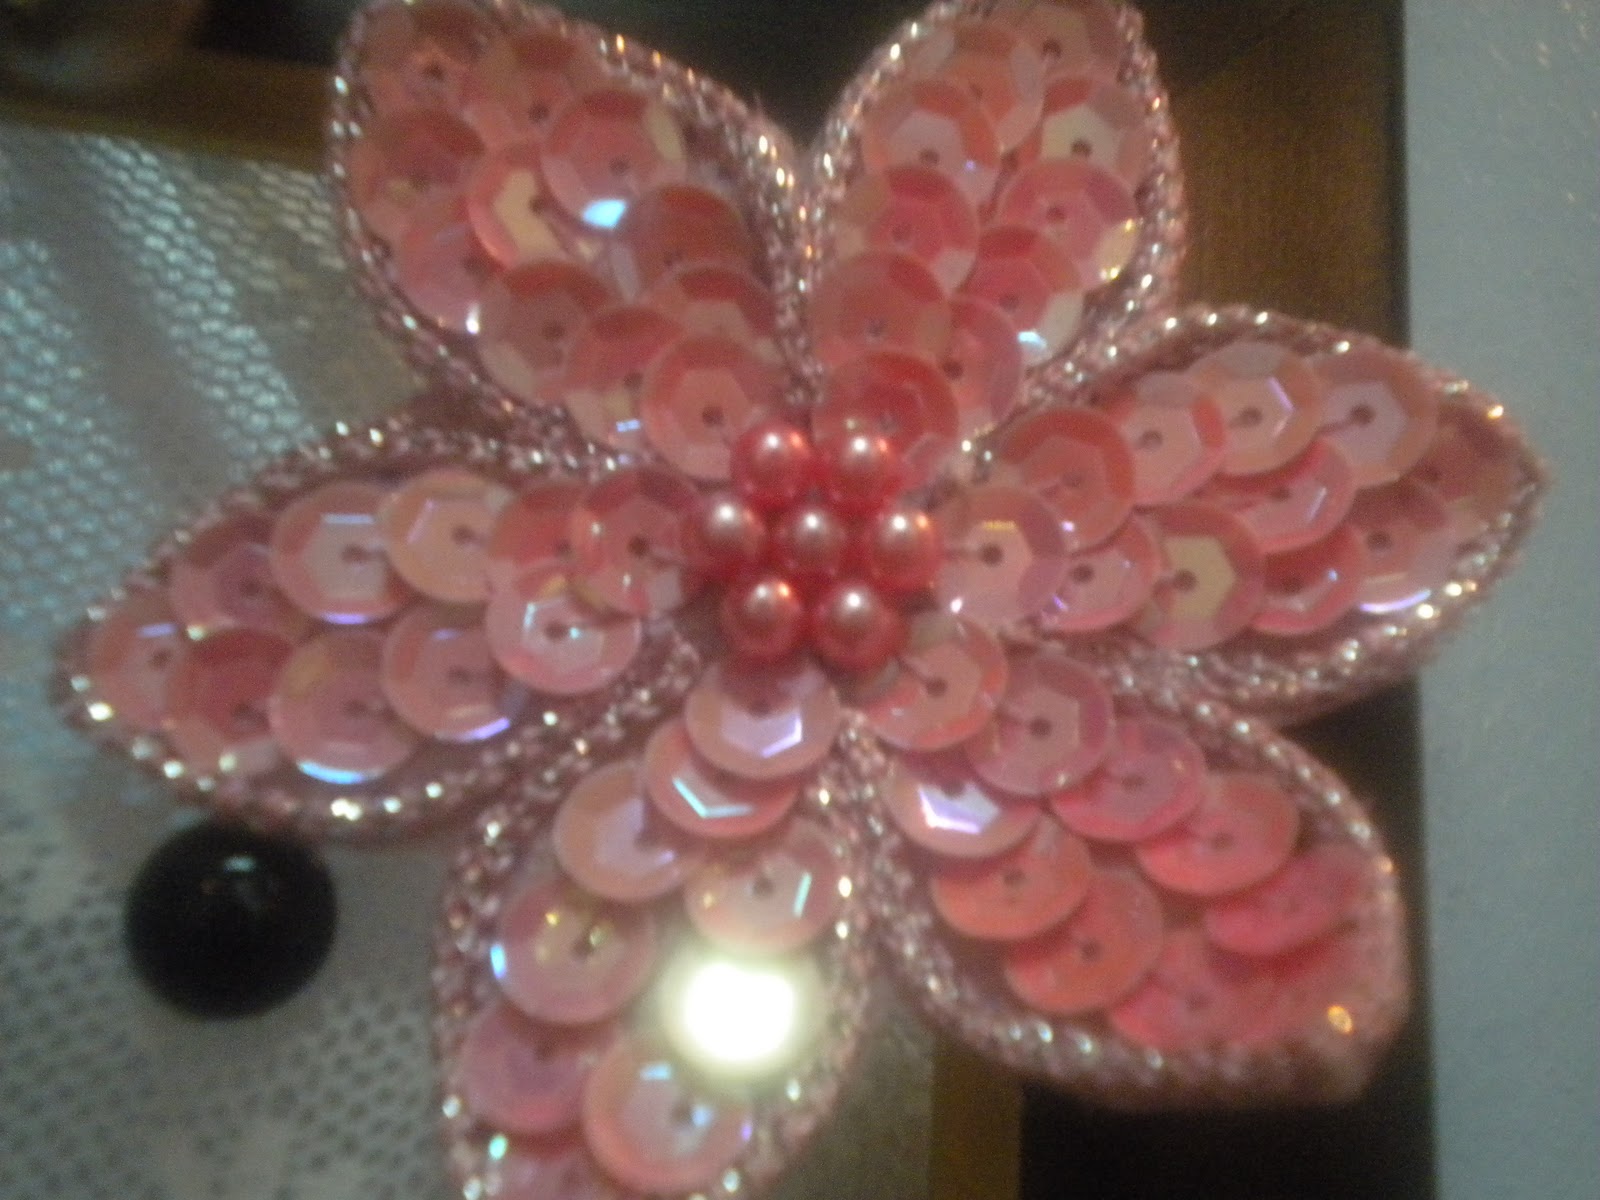
After this you are pretty much done! I added a couple brooches my mother gave me for a little flair. What's great about those brooches as well is that if you're missing the match to an earring you can hide the jewelry you have behind it!

All that was left to do was to hang it on the wall, added all my necklaces and earrings and that's it! It's not just functional, it looks great too! It's such an awesome feeling when someone asks where you got it and you can say you made it. I hope some people will try to make this as well!


No comments:
Post a Comment